No one needs a recipe for Pav Bhaji. Not if you have watched that neighborhood Pav Bhaji wala when you were a kid.
I do not know any traditional recipe for Pav Bhaji, what I do is make this quick meal with the MDH Pav Bhaji Masala, a spice mix available (here too) in Indian grocery stores.  I have grown to love the bhaji (vegetable mishmash) tasting of Amul Butter, something that I miss in my Pav Bhaji here. Sadly no Indian stores shelf this brand of butter, which is a legend in India. A butter-eating Indian will bow down to the name of Amul.
 But this post is not about my nostalgia or the things missing in my pantry here. Its about Pav Bhaji, just in case you did not get the drift.
For my Bombay Pav Bhaji, I chopped up vegetables like green beans, green bell pepper, green onions, green peas, cauliflower, few cloves of garlic, half a red onion, some fresh coriander. But that’s not the end.  I think I will just stop feeling lazy after that bellyful of Pav Bhaji dinner and go ahead and write my recipe out for you.
Ingredients for Bombay Pav Bhaji are:
For the Bhaji:
3-4 medium size potatoes, peeled and boiled
Half cup diced cauliflower
Half cup green beans, chopped
Half cup green onions, chopped
Half cup red onions, chopped
Half cup green bell pepper, chopped
2 juicy red tomatoes, chopped
3-4 cloves of garlic, minced
4-5 green chilies, chopped fine
Quarter cup coriander, finely chopped
Half cup green peas/ frozen or fresh
One cup spinach, roughly chopped
Lemon juice
MDH Pav Bhaji Masala
Butter (Amul if you are in India)
Salt
Boil together cauliflower, beans, onions, bell pepper, garlic, peas, chilies, tomatoes and spinach. I start by the hardy vegetables and add the peas and spinach only towards the end. 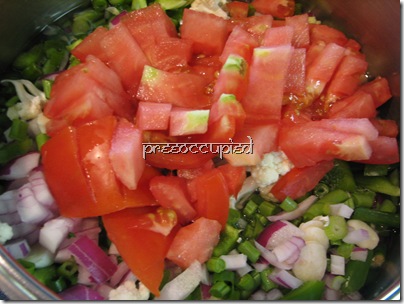

While the vegetables are getting cooked, I mash the boiled potatoes lightly and add them.
 Give it a good mix and add salt.
 Once, the vegetables are cooked. Add the Pav Bhaji Masala and chopped coriander, stirring to mix well. Cook for another 5-7 minutes to take care of the raw taste of the Masala.
 Adjust the taste and add a big dollop of butter to the bhaji. Turn the heat off and add lemon juice.
For the Pav:
Small buns
Butter
I used small hamburger buns and tossed them in butter to get a nice caramelization on the sides.
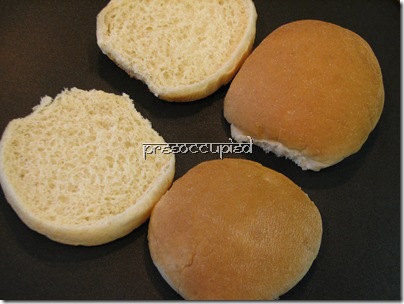

Serve the buttered buns with the bhaji. I usually chop some red onions and drench them in lemon juice and garnish my bhaji with it.
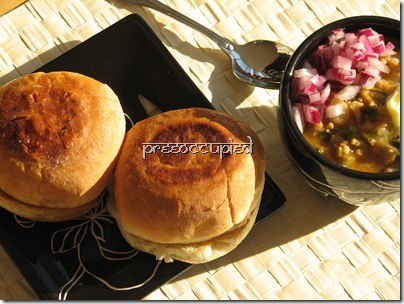 I also sneak in a small dollop of butter on my bhaji.


How do you like your Pav Bhaji?
With extra butter…
I hear my inner voice say.


![IMG_9631_thumb[10]](https://blogger.googleusercontent.com/img/b/R29vZ2xl/AVvXsEg9dUxGheewgv1nqieenuug84MvYYV2KtTd4Ur1HYgse3EyrUL9c7gVJlL4Mx_dOYQwOFTwWlTmuxYpVAl201sF8QKMtIK1YLDkrj9X60wf_ZZ-t4x7vQT_I031O7ziYQ6gEgtaNxkbFAM/s1600-h/IMG_9631_thumb%5B10%5D%5B5%5D.jpg "IMG_9631_thumb[10]")
![IMG_9640_thumb[7]](https://blogger.googleusercontent.com/img/b/R29vZ2xl/AVvXsEike0r-Yt-QJhT-O4PKc3HE0gYAug0Yf1xpJjsiiVj3b8TyeKyxjK-ei1mCJWUOXqum-FuVGrhGugHdJLyEyS9wi7_OoVZymHSU373pcGW7W0REXoXmIEtD0XalUtNwLN8RNLvr15EdaKM/s1600-h/IMG_9640_thumb%5B7%5D%5B5%5D.jpg "IMG_9640_thumb[7]")